Snap and Save: A Quick Guide to Mac Screenshots
Screenshots can be an essential part of working with a Mac, whether you're capturing a moment, saving information, or troubleshooting an issue. The process might seem as simple as hitting a few keys, but there's more to it than meets the eye. With various screenshot methods available on macOS, do you know which one best fits your task at hand? How can you swiftly select and use the appropriate tool without disrupting your workflow?
In this post, we'll walk through the different methods available for taking screenshots on a Mac. From the most straightforward keyboard shortcuts to the more comprehensive screenshot and preview utilities, we'll provide clear instructions and tips to help you capture your screen with ease. We'll also address common issues you might encounter and suggest additional apps for those who need more advanced functionality. Whether you're new to macOS or a long-time user, this guide will help you take screenshots efficiently and effectively.
Keyboard Shortcuts for Quick Captures

Mac users, say goodbye to lengthy processes for screen captures. Keyboard shortcuts are here to make your life easier. Check out this neat table that lays out all you need to know to take screenshots on your Mac swiftly:
With these shortcuts at your fingertips, you're all set to capture anything on your Mac's screen in a snap. Whether you're a Mac newbie or a seasoned user, these commands are sure to streamline your screenshot process.
Screenshot Utility for Advanced Options
.png)
With macOS Mojave and later, Apple introduced a Screenshot utility that brings a new level of control to screen captures. Here's a closer look at how to utilize this utility:
- Press Command + Shift + 5 to reveal the Screenshot utility's toolbar. This toolbar is a floating palette that offers quick access to various screen capture options.
- Through this toolbar, you can choose to capture the entire screen, a selected window, or a custom portion of your screen. You can also start a screen recording, which can be invaluable for creating tutorials or recording live streams.
- After taking a screenshot or recording, you can interact with the thumbnail that appears to edit, delete, or drag it to another location. If ignored, the thumbnail will automatically be saved to your default location after a few seconds.
This utility is a powerful addition to macOS, providing users with more flexibility in how they capture and manage their screenshots.
Grab Utility for Legacy macOS Versions
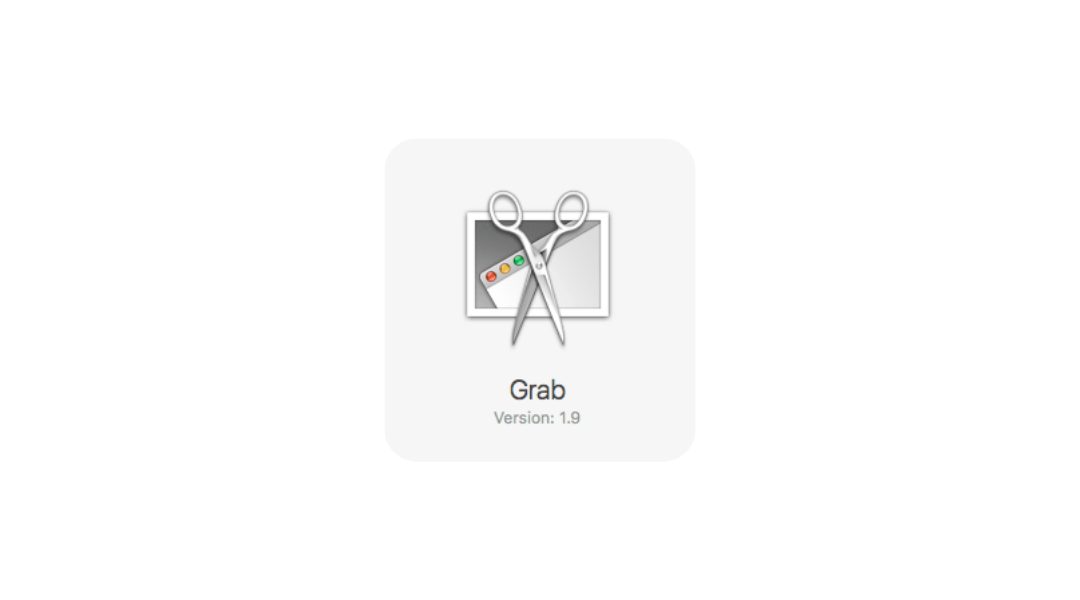
For users with macOS versions older than Mojave, the Grab utility is the go-to tool. It’s an application that offers a variety of screen capture options:
- To access Grab, open the Finder and navigate to the Applications folder, then Utilities, and launch Grab.
- Once open, you can choose from the Capture menu at the top of the screen to take different types of screenshots, such as a specific selection, an individual window, or the entire screen.
- One of the unique features of Grab is the Timed Screen option, which gives you a 10-second delay before the screenshot is taken, allowing you to set up your screen exactly how you want it, including opening menus or activating hover states.
While Grab does not offer editing capabilities, it is a solid tool for those on older macOS versions who need reliable screenshot functionality.
Using Preview to Take Screenshots

Preview, the application that allows you to view and edit PDFs and images, also has the capability to take screenshots:
- Open Preview and from the File menu, select Take Screenshot. From there, you can choose to capture the entire screen, a window, or a selected portion.
- If you choose From Selection, you'll be able to click and drag to select the area you want to capture.
- For From Window, click on the desired window once it highlights to capture it.
- From Entire Screen will give you a countdown timer, allowing you to set up your screen before it captures.
Using Preview to take screenshots is especially useful if you want to immediately view or edit your screenshot within the same application.
Tips and Tricks for Power Users

For those who frequently take screenshots, here are some advanced tips to streamline your process:
- Change Default Save Location: Instead of cluttering your desktop, change the default save location by opening the Screenshot utility, clicking on Options, and selecting your preferred save destination, such as a dedicated folder or cloud storage.
- Clipboard Shortcut: If you need to paste a screenshot directly into a document or image editor, hold down the Control key while using any of the screenshot shortcuts. This will save the screenshot to your clipboard instead of as a file.
- Editing Screenshots: Once you've taken a screenshot, you can quickly edit it using macOS's native tools, such as Quick Look for a quick preview or Preview for more in-depth editing options like cropping, color adjustments, and adding annotations.
Troubleshooting Common Screenshot Issues
Encountering issues when trying to take a screenshot on your Mac can be frustrating. To help you resolve common problems quickly, we've compiled a Q&A section that addresses typical screenshot challenges and provides clear solutions.
Q: What should I do if my screenshot shortcut isn't working?
A: If your keyboard shortcuts for screenshots are unresponsive, the first step is to check your system settings. Navigate to System Preferences > Keyboard > Shortcuts. Here, verify that the shortcuts are enabled and not in conflict with other applications. If they are assigned to other actions, consider resetting them or assigning new key combinations that don't overlap with existing commands.
Q: Why are my screenshots coming out larger than I expect?
A: Oversized screenshots can often be attributed to your display's resolution settings. To adjust this, go to System Preferences > Displays. Within this menu, you have the option to change your screen's resolution. Selecting a scaled resolution can help ensure your screenshots are captured at a size that meets your needs without compromising on clarity.
Q: I'm not hearing the shutter sound or seeing the thumbnail preview after taking a screenshot. What's wrong?
A: The iconic camera shutter sound and thumbnail preview are part of the screenshot experience on a Mac. If these are missing, check your sound settings to ensure the volume isn't muted. Additionally, confirm that Do Not Disturb mode isn't activated, as this can suppress these auditory and visual cues. You can toggle Do Not Disturb on or off by clicking on the Notification Center icon at the top right of your screen and scrolling up to reveal the control.
Recommended Apps and Extensions for Enhanced Functionality
When the built-in macOS tools don't quite meet your needs, third-party apps and extensions can offer additional features. The following table outlines some of the best options available, detailing their key features and ideal user scenarios using bullet points for clarity.

Each app and extension in this table offers unique benefits that can be tailored to your specific requirements. From comprehensive editing to quick sharing, these tools can significantly enhance your screen capturing experience on a Mac.
Elevating Your Mac Screenshot Experience

That about wraps up our deep dive into the world of Mac screenshots. You've got the basics down, learned a few advanced tricks, and even discovered some third-party tools to expand your capabilities. It's time to put all that knowledge to good use.
Remember, whether it's capturing a fleeting moment or prepping images for a presentation, the right screenshot method can make all the difference. And for those times when the default options just don't cut it, the additional apps we've highlighted are there to step up your game.
So, go ahead and experiment with these tools to find what works best for you. With a little practice, you'll be taking screenshots with the best of them, no fuss, no muss. Here's to capturing what matters on your Mac with minimal effort and maximum efficiency.


